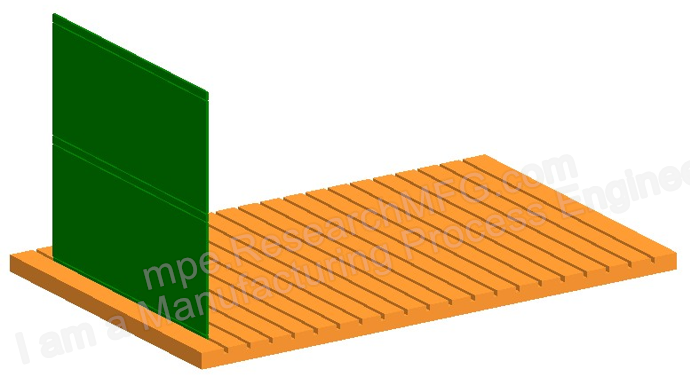
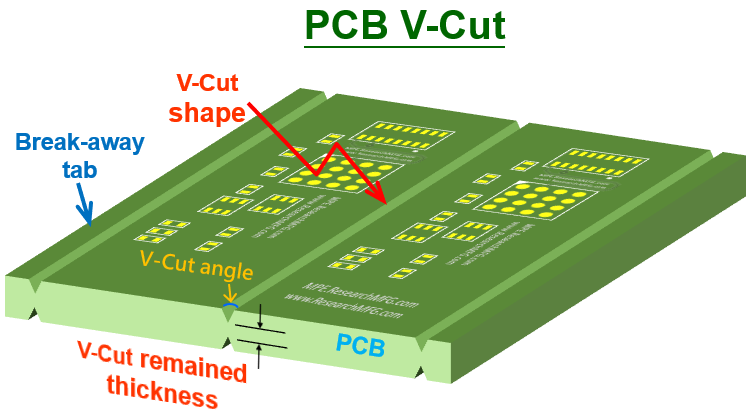
There are many ways to de-panel or remove the edge rails of a PCB, but the simplest and cheapest method is manual V-cut breaking. However, this method can easily lead to uncontrolled quality issues. Before using manual breaking, it’s important to confirm that the board really cannot be processed with a V-cut scoring machine, or that the components on the PCBA are strong enough to handle bending stress without damage.
Using manual breaking often leads to several quality concerns, such as:
-
Manual de-paneling relies entirely on the operator, so it’s hard to maintain consistent discipline and quality — results may vary from person to person.
-
Bending the board by hand can cause cracks or micro-cracks in components or solder joints, which lowers yield and may even result in failures that only appear after some time in use.
-
It can also damage the PCB itself — vias near the break line may crack under stress, and traces close to the edge may get scratched or broken because the board edge is literally torn apart, leaving rough burrs.
-
Since the operator needs to hold the board by hand, fingers may touch components directly, potentially causing ESD or mechanical damage. In addition, when the board snaps, it may hit the fixture or worktable, damaging tall components.
Precautions for manual V-cut breaking:
-
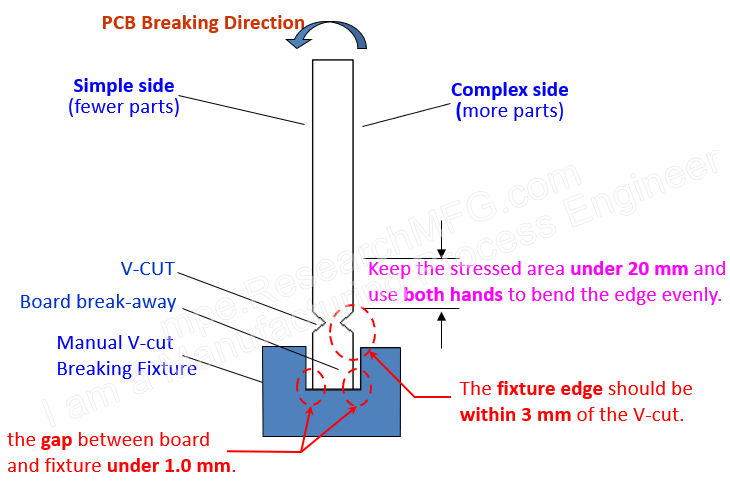
When breaking by hand, use both hands to hold the board within 20 mm of the V-cut groove to minimize bending stress. The farther you hold from the groove, the greater the bending moment and deformation.
-
The fixture groove depth should match the V-cut location. Ideally, the V-cut should be within 3 mm of the upper edge of the fixture.
-
The gap between the PCB and the fixture should not exceed 1 mm.
-
Always break the board from the component-heavy side (complex side) toward the component-light side (simple side). This lets your thumb press on the complex side and your fingers on the simple side, reducing pressure on components and preventing the board from hitting the table during breaking — which helps protect tall parts.
Related Posts:





Leave a Reply